UPDATED VERSIONS:


I just love the shape of this copper one!
A couple of weeks ago, someone dumped a lot of tires in the empty lot across from our home.

 My wonderful hubby asked if there wasn't something I could do with them, because they were such an eye sore and he thought maybe I could use them as a planter and a ladder (because our children and the kids next door love to scale the brick wall and talk to each other.
 Of course, once an idea is in my head I can't let it go and I never go simple. So I decided they needed to be cut and turned inside out. Just that easy right. When I looked on line there are not that many people who post about projects with tires. (if You do and I didn't see it I am sorry! I only have the patience of a 2 year old for researching something!) But the one post I found to be helpful is found here
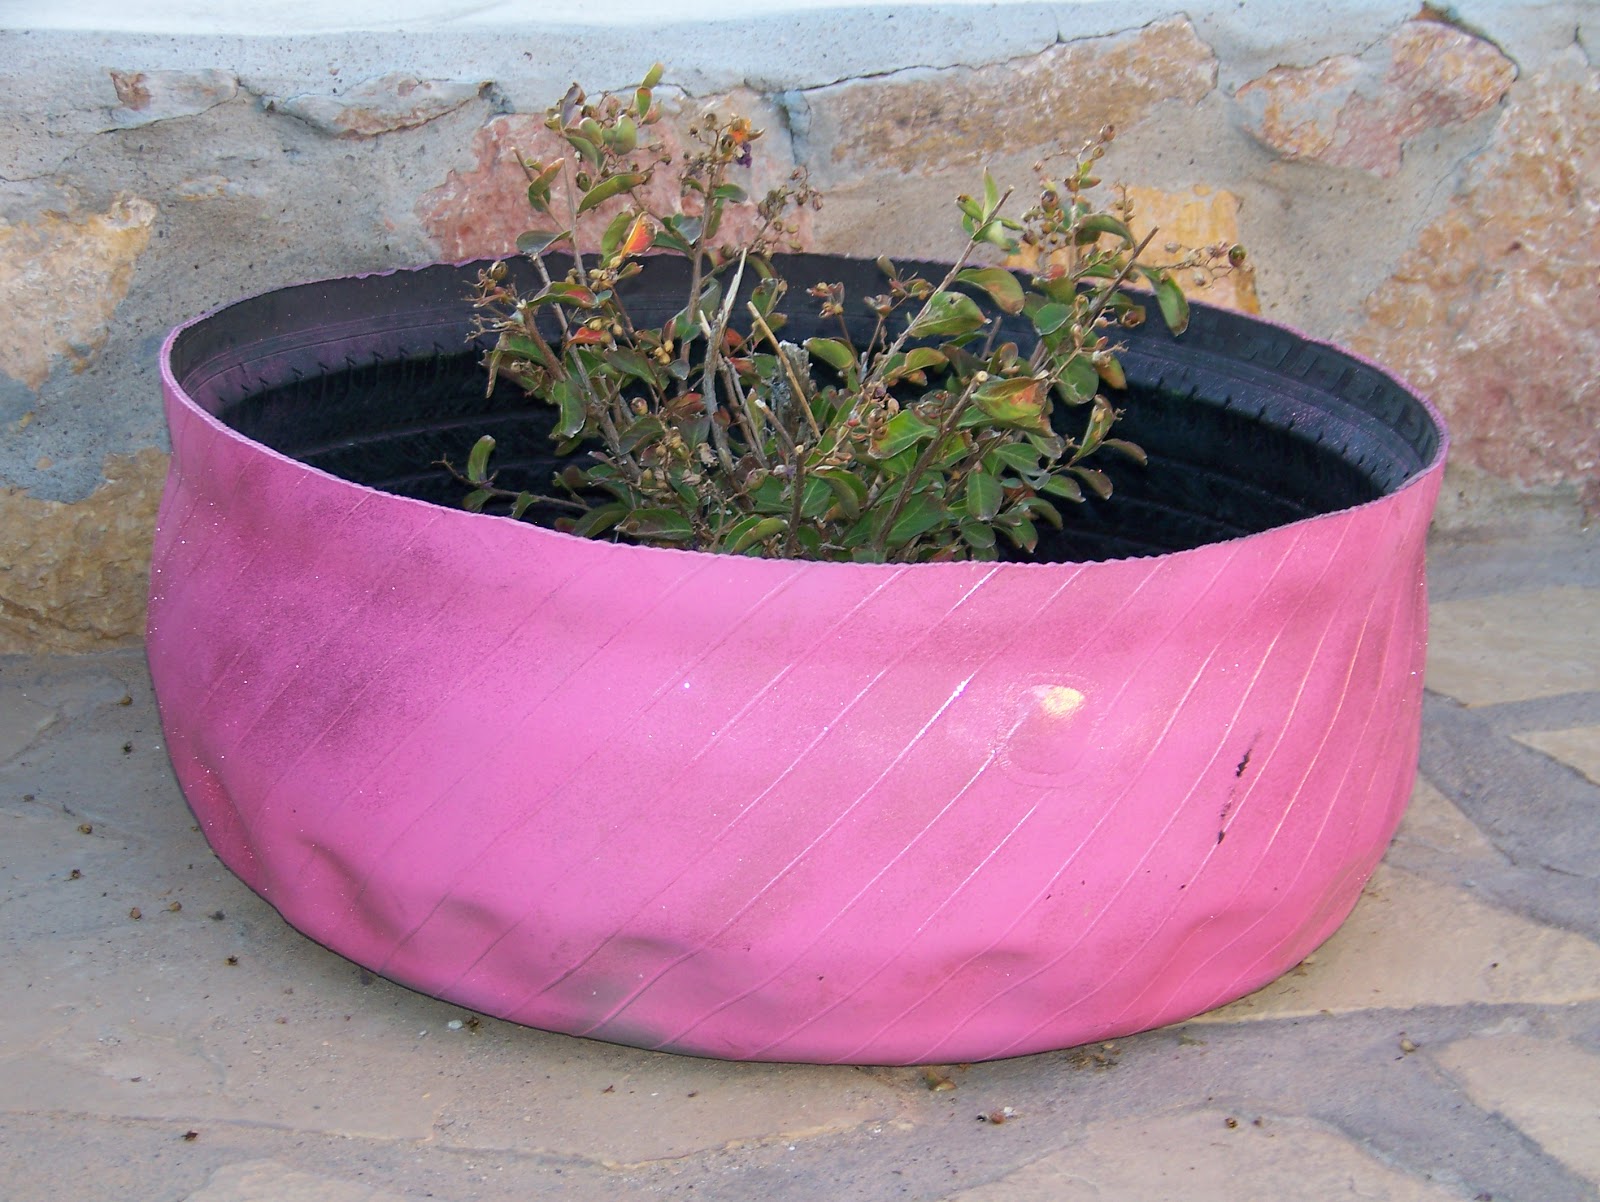
  I decided to use an old steak knife that we have had for years, drew a pattern with a red dixie cup for the petaled ones and just a straight cut for the others. I have not as of yet made a stepping planter for the kids to climb and us to plant in, but am having fun with these. Apparently they are the best thing to grow potatoes and tomatoes in this area. Lots of people have used tire planters before and a few people had grandparents who even cut there's like flowers, but no one here has seen them painted.


